
Last updated November 22, 2026
 Sweep & inspection
 Caps & crowns
 Flue relining
 Masonry repair
 Gas fireplace service
Level 1 sweep and inspection to the NFPA 211 annual standard - flue, crown, cap, and flashing checked and photographed
Chimney sweep logs do not sweep chimneys. They loosen some creosote - which then falls where a brush and vacuum still have to collect it.
Chimney Sweep Maintenance Checklist for Bensonhurst Homeowners
Most chimney maintenance checklists tell you to “clean annually and check for damage.” That’s not a checklist – it’s a caption. A real checklist names the component, tells you what failure looks like there, and gives you a way to record it so next year’s visit builds on this one instead of starting from zero. Bensonhurst makes this more urgent than the generic advice suggests. Brooklyn’s rowhouse stock was built around clay tile liners, mortar joints that have been through decades of freeze-thaw cycles, and rooflines where water has few places to go but down. In this guide we walk through what a technician actually verifies at each zone of your chimney, and what you can observe yourself between service calls.
Quick Answer
A chimney maintenance checklist for a Bensonhurst home should cover six zones: firebox, damper, smoke chamber and flue, cleanout door, crown, and cap. At each zone you check for three things – cracking, staining, and loose material – and you date every observation so patterns show up across seasons. Any checklist that stops at “sweep once a year” is answering the wrong question; the annual sweep is one step. The inspection is where the real information lives, because the sweep is the cleanup and the inspection is the diagnosis.
Styles & brands we work with
- Sweep & inspection
- Caps & crowns
- Flue relining
- Masonry repair
- Gas fireplace service
Table of Contents
- Why Bensonhurst Chimneys Age Differently
- The Six Zones: What to Check at Each
- Firebox to Crown: Homeowner Inspection Without Tools
- Reading the Clay Flue Tiles Through the Cleanout Door
- The Damper Function Test
- How to Log and Date Observations
- What to Check After Storm Season
- Common Mistakes to Avoid
- When to Call a Professional
- Frequently Asked Questions
Why Bensonhurst Chimneys Age Differently
Bensonhurst sits close to the harbor, and the winters here swing hard – a warm afternoon that softens the crown mortar, then a night that drops below freezing and expands whatever moisture got into it. That freeze-thaw cycle is the single biggest driver of crown and mortar deterioration in this neighborhood, and it works slowly enough that homeowners rarely notice until a section of mortar has already dropped away. Clay tile liners, which most of the older rowhouses here still have, are rigid. They don’t flex, so any movement in the surrounding masonry transfers straight into the tile joints. Over enough winters, the joints crack and the tiles shift.
There’s a second local factor: rooflines. Many Bensonhurst homes have relatively flat or shallow-pitched roofs where the chimney is one of the few vertical elements breaking the plane. That means water running across the roof doesn’t always shed away from the chimney the way it would on a steeper pitch. It pools, sits, and finds its way into mortar joints, crown edges, and the seam where the flashing meets the masonry. In our experience, chimneys in this neighborhood tend to show water-related damage before they show heat-related damage, which is the reverse of what a lot of generic chimney guides describe.
None of this means every Bensonhurst chimney is failing. It means the checklist has to be weighted toward the failure points that actually show up here – moisture at the crown, mortar at the joints, and clay tile condition at the flue. That’s the difference between a useful checklist and a decorative one. If you want to understand the full scope of what a professional evaluates during a service visit, our chimney sweep page covers the process end to end.
What makes the ventilation side matter too
A chimney is a venting system, not a masonry decoration. It has one job: move combustion gases and smoke up and out at a rate that keeps the fire burning cleanly and keeps carbon monoxide and creosote byproducts out of the living space. Every defect in this guide – a cracked crown, a spalled firebox brick, a warped damper, a displaced tile – degrades that venting job. The cosmetic stuff is the least important part. What matters is whether the chimney still moves air correctly and whether it still contains the heat and the gases it’s moving.
The Six Zones: What to Check at Each
Break the chimney into six zones and check them in order, working from the fire up and out. This sequence matters because a problem low in the system can look like a problem high up. A blocked flue and a failing crown can both cause smoke spillage; you need to rule out the lower zones first.
- Firebox. Look at the brick faces and the mortar joints between them. Spalling brick (faces flaking or popping off), white powdery staining, and eroded joints are the three things to note. Note them with a date.
- Damper. Open and close it fully. Then check how it seats. A damper that closes but doesn’t seal is a heat-loss source all winter long. More on the test below.
- Smoke chamber and flue. Shine a light up the flue from the firebox. You’re looking for heavy creosote buildup on the walls, visible tile edges that are out of alignment, and any gaps where tile should meet tile.
- Cleanout door. Open it and look in with a light. This is your best inspection point for the lower flue and the base of the chimney – and the one most homeowners never open.
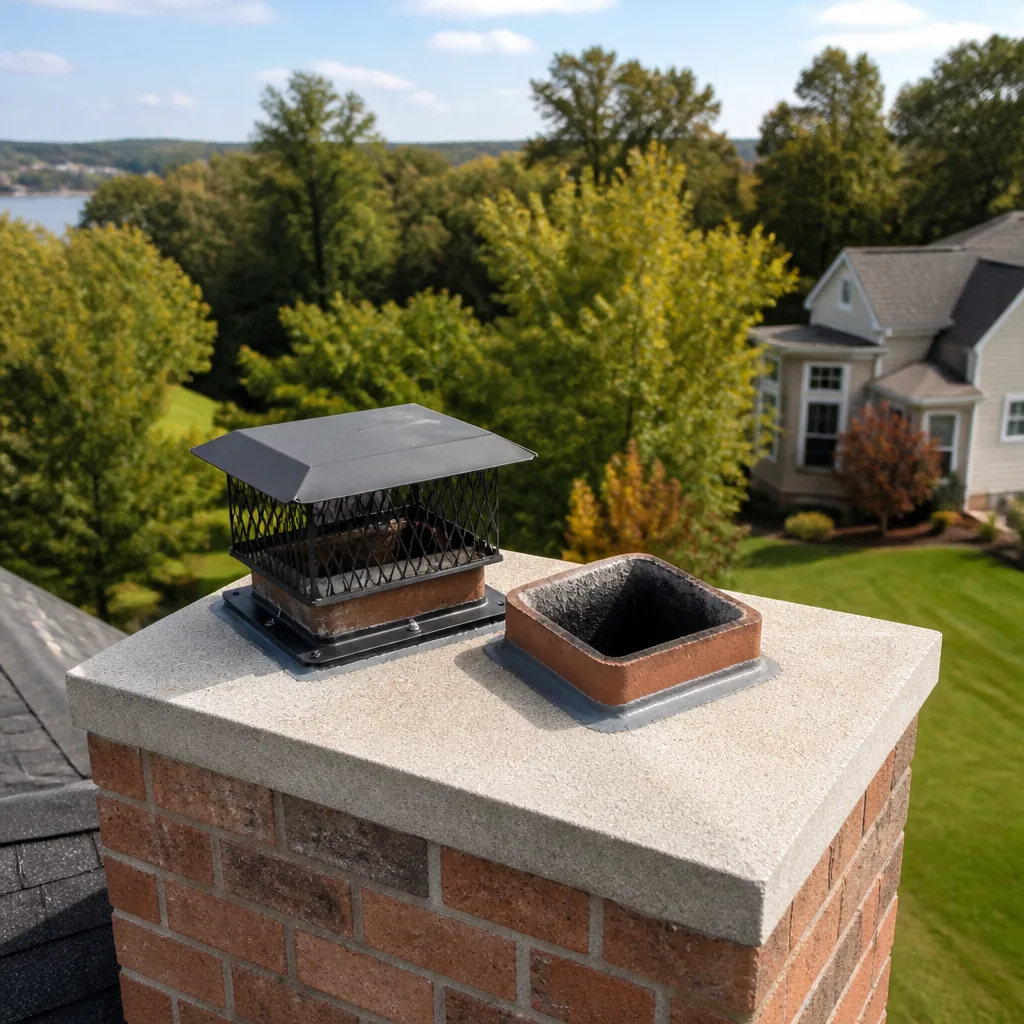
- Crown. Look at the concrete or mortar top of the chimney from the ground if you can see it, or from the roof only if you can get there safely. Cracking, crumbling, or a crown that no longer slopes away from the flue are the indicators.
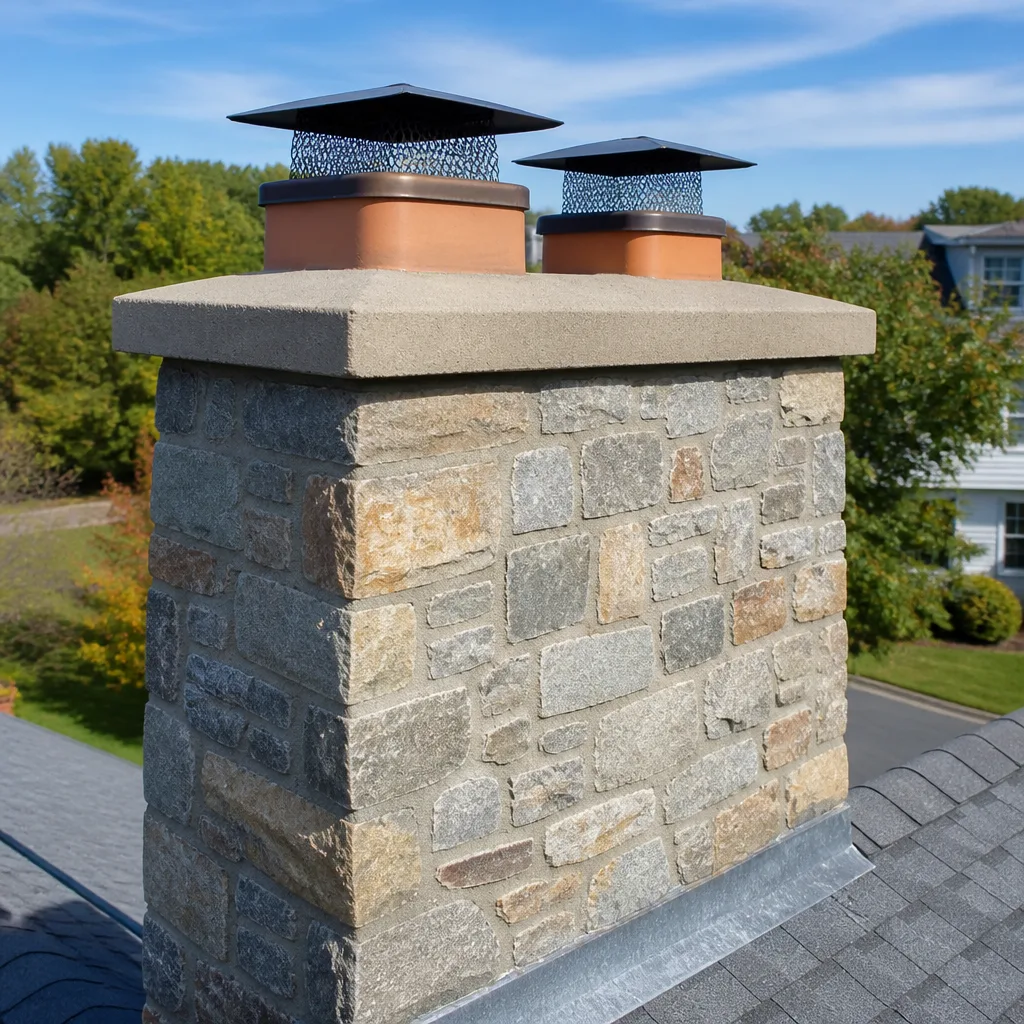
- Cap and spark arrestor. Check that the cap is intact, seated, and its mesh is unclogged. A cap is doing its job only if air still moves freely through it. Our chimney cap & crown page explains what proper installation looks like.
How often to run the six-zone check
Run the full six-zone check twice a year: once before the heating season starts and once after it ends, before you close the chimney down for the warmer months. Between those, do a quick version after any major storm or any batch of hard freezes. The quick version is zones 1, 4, 5, and 6 – the ones where storm and freeze damage shows first. Zone 2 and zone 3 need much less frequent hands-on checking if the chimney is being serviced annually.
Firebox to Crown: Homeowner Inspection Without Tools
You don’t need a camera or a ladder to do a meaningful inspection. You need a flashlight, a way to record what you see, and a clear idea of what “bad” looks like at each zone. Here’s the walkthrough we suggest for Bensonhurst homeowners between professional visits.
Zone 1: Firebox
Look at the brick and the mortar. Healthy firebox brick is uniform in color and the mortar joints are tight. Warning signs are spalling brick (small flakes or chunks coming off the face), efflorescence (the white chalky staining that means moisture is migrating through the brick and depositing salts on the surface), and eroded mortar joints (you can push a fingernail into them or see clear gaps). Firebox brick that has spalled to the point where the inner structure is exposed is a safety issue, not just a maintenance note – heat can reach the surrounding masonry directly. Brick cracks wider than a hairline, in particular, should be assessed by a technician.
Zone 2: Damper
Details below, but the visual check is quick. Open the damper, look at the plate. A flat plate that seats flush against its frame is what you want. A warped or rusted plate, or a plate with a visible gap when closed, is worth flagging. Note the date and the condition.
Zone 3: Smoke chamber and flue (from below)
With a strong flashlight pointed up from the firebox, you can see a surprising amount of the smoke chamber and the first few feet of flue. Look for shiny, tar-like deposits on the walls – that’s glaze-stage creosote, and it’s a fire hazard that requires professional removal. Look for smoke staining above the damper that suggests the chimney is not drafting correctly. If you can see the tile joints from below, note whether they look tight or open.
Zone 4: Cleanout door
This is the most underused inspection point in the whole system. Open the cleanout door (usually at the base of the chimney, often behind a metal panel) and shine a light upward. You’ll see the lower flue tiles from the side. You’re looking for three specific things, covered in the next section.
Zone 5: Crown
From the ground, look up at the top of the chimney. The crown is the concrete or mortar slab that tops the chimney and slopes away from the flue. A healthy crown is intact, with a visible slope. Cracking in the crown (especially hairline cracks that have widened), crumbling, a crown that has pulled away from the flue, and efflorescence on the crown surface all point to water getting in.
Zone 6: Cap and spark arrestor
Check that the cap is intact and seated. Look at the mesh – it should be open and clear. Look at the cap’s mounting – is it sitting level, is it anchored, has it shifted? A loose cap can be a wind hazard as well as a venting problem. Any obvious rust-through on a metal cap is a replacement signal.
Reading the Clay Flue Tiles Through the Cleanout Door
The clay tile liner is the part of a Bensonhurst chimney most likely to fail first, and the cleanout door is where you can spot it before a camera inspection is even needed. From the cleanout door, looking up, you’re looking for these three signs:
- Displaced or offset tiles. Each flue tile should line up flush with the one above it. Any tile that has shifted – creating a visible step or lip – means movement. Displaced tiles are the classic precursor to a liner failure.
- Cracked tile joints and cracked tile bodies. Look for gaps between tiles where mortar should be, and for cracks running across the face of a tile itself. Even a thin crack means the flue is no longer fully contained.
- Debris and staining at the flue base. Flakes of tile or mortar on the bottom of the flue, or heavy staining on the walls, point to ongoing deterioration higher up the flue that you can’t see from the cleanout.
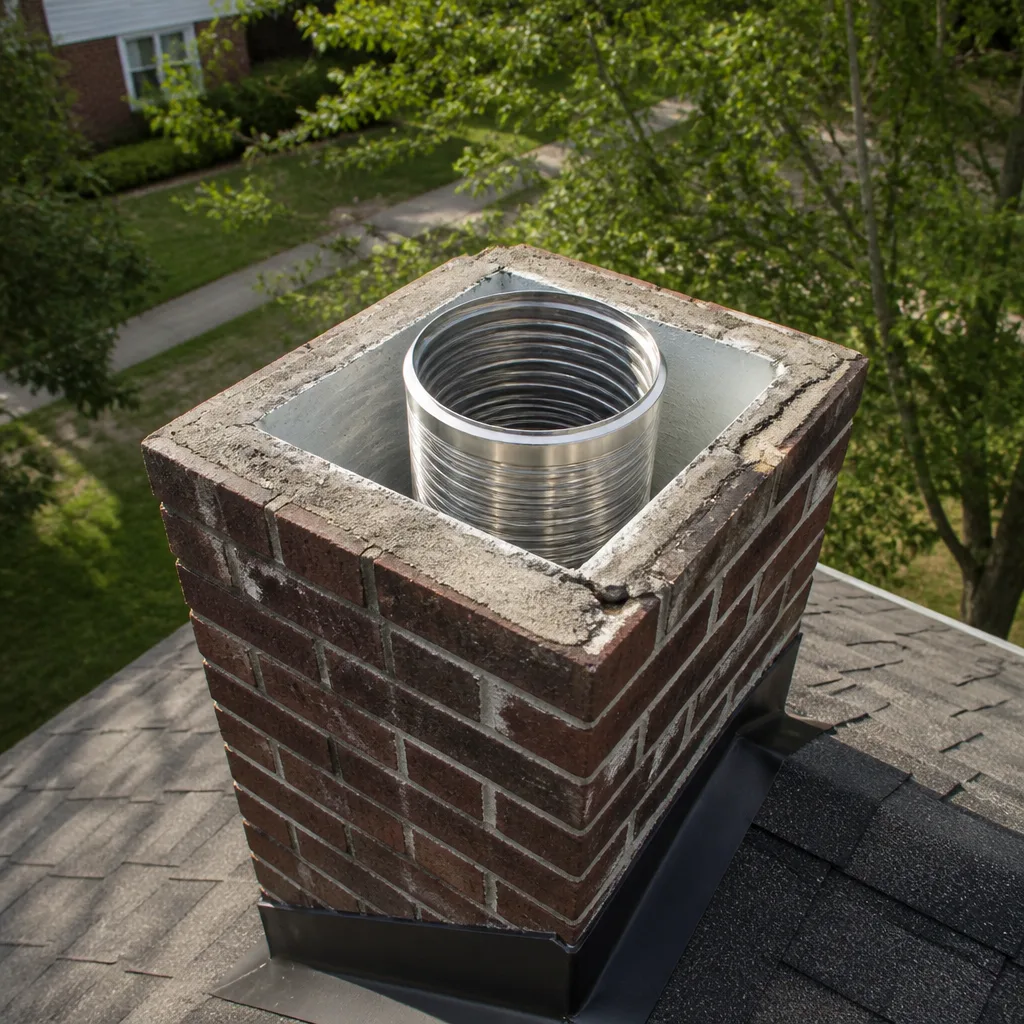
If any of those three signs are present, the liner needs a professional evaluation before it’s used. Depending on the extent of the damage, the fix may be a full reliner, or it may be a flue-resurfacing approach. HeatShield’s ceramic flue-resurfacing system, for example, is a specialist-only method for restoring deteriorating liner walls without a full liner replacement – it works from the inside out, coating the flue with a ceramic layer that extends the liner’s service life. Most basic sweep companies don’t carry that capability; it takes a specialist to assess whether it’s appropriate and apply it correctly. If a reliner is the right answer, we specify DuraFlex flexible liners for their heat resistance and fit, and we source from multiple professional supply lines – Farnco, Olympia Chimney, Copperfield – so the component matches the chimney’s specific configuration rather than defaulting to one generic part. That’s the practical reason brand choice matters: the wrong part is the wrong part, no matter how good the brand on the box. To see the maintenance side framed against the repair side, our Chimney Sweep Bensonhurst hub covers both.
The Damper Function Test
“Does it open” is only half the question. The damper’s real job is to close, and to seal. A warped damper plate that opens fine but doesn’t sit flush when closed is one of the biggest heat-loss sources in a Bensonhurst home – and you’ll notice it most in the cold months when the chimney is cold and pulling air out of the room even when there’s no fire.
- Open the damper fully. Check for smooth travel. Any binding, grinding, or sticking is worth noting – it may mean the frame is distorted or the plate has rusted.
- Close it fully and look at the seal. With a flashlight, look at the gap between the plate and the frame. A small gap on one side means the plate is warped or the frame has shifted.
- Try the “draft test.” With the damper closed, light a small piece of paper near the firebox opening. If smoke is pulled up and into the chimney, the damper isn’t sealing and air is flowing past it. This is a rough test – a technician can tell you definitively – but it’s a useful early signal.
- Look at the plate itself. Rust, pitting, and warping are the three visual signs the damper needs attention. Note them with a date and the condition.
A damaged damper is also a safety issue if it’s a top-sealing damper or part of an assembly that’s relied on for closure. Don’t try to disassemble or repair the damper yourself – the frame and hinge assembly are part of the chimney’s containment system, and improper repair can compromise both the seal and the structural connection. Have a technician assess it.
How to Log and Date Observations
This is the part of the checklist nobody writes down, and it’s the part that makes everything else more useful. The point of logging is correlation. A crack you noticed six months ago that hasn’t changed is less urgent than a crack that’s visibly wider this year. But you can only tell the difference if you wrote it down.
Set up a simple log for your Bensonhurst chimney. It doesn’t need to be fancy – a small notebook kept near the fireplace works fine, or a note on your phone if that’s easier to update.
- Date every entry. Include the season, and note anything unusual about the weather around that time. Freeze-thaw patterns, a big storm, a heat wave – these are the things you’ll want to correlate later.
- Log by zone. Keep six entries (firebox, damper, flue, cleanout, crown, cap) and keep them in order every time. This makes the log scannable.
- Record what you saw, not what you think it means. “Crown: hairline crack at the south edge” is more useful than “crown: probably fine.” Leave the diagnosis to a technician; your job is observation.
- Note anything you changed or repaired. If you had a cap re-seated or a damper replaced, log it with the date. Future technicians need to know what’s original and what’s been touched.
- Bring the log to every professional visit. This is the most important step. A technician who has your log is not starting from zero – they can see what you’ve been watching and what’s actually changed.
In our experience, the homeowners who keep a log end up with better outcomes, because the professional visit starts from a baseline instead of from a best guess. Your log doesn’t replace the inspection; it makes the inspection sharper.
What to Check After Storm Season
Bensonhurst’s proximity to the harbor and the region’s freeze-thaw cycle put the crown, cap, and exposed masonry under real stress. After any storm season – and especially after a stretch of hard freezes – do a post-storm walkthrough focused on the components most likely to have moved.
- Crown and cap. Look for new cracking, crumbling, or cap displacement. A freeze-thaw cycle can widen an existing crack dramatically in a single hard winter.
- Exposed masonry and mortar joints. Any new white staining (efflorescence) or visible mortar loss is worth noting. Efflorescence after a wet season is not an emergency – it’s a signal.
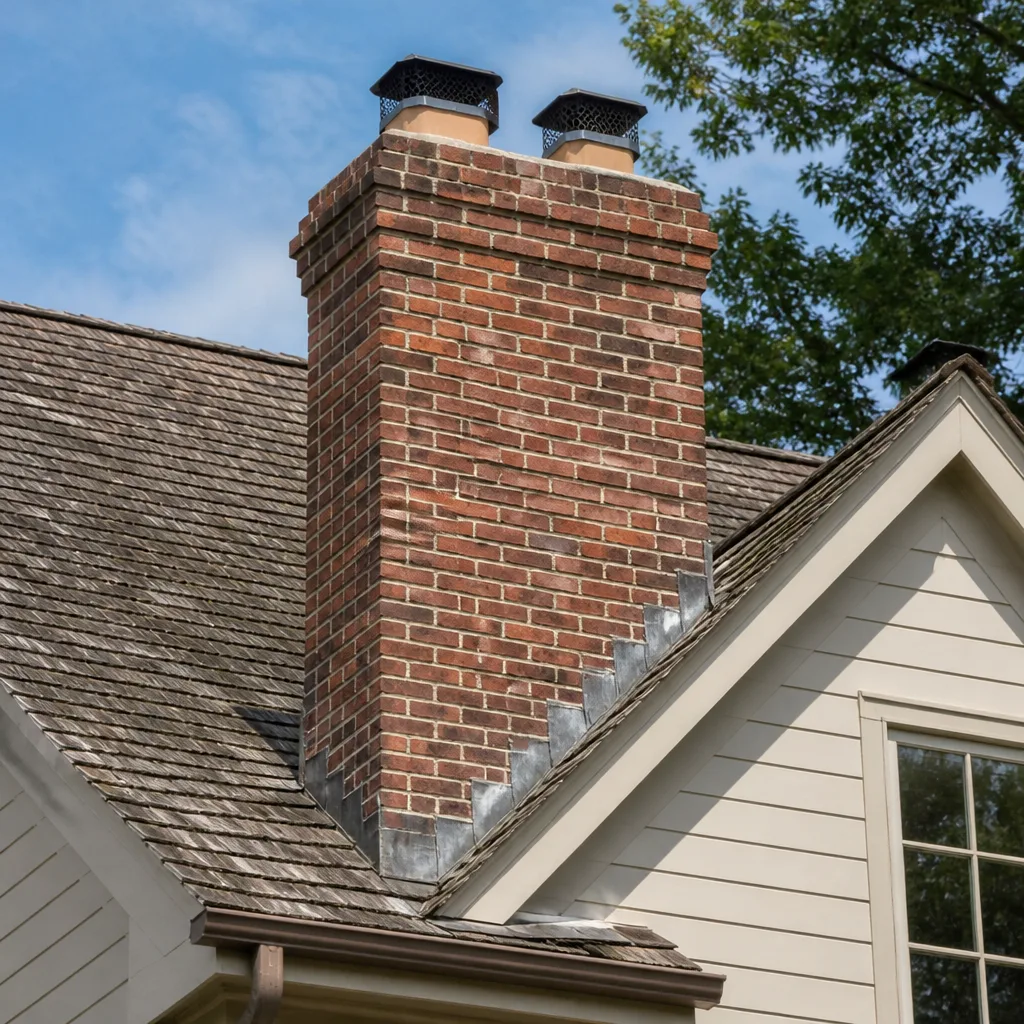
- Flashing seam. Look at where the chimney meets the roof. Any visible separation, lifting, or new staining at the seam is worth flagging.
- Firebox. Check for any newly spalled brick or new cracking in the firebox and surrounding masonry. Interior changes after a wet season can reflect moisture that got in from above.
- Cleanout door. Open it and look for new tile debris or mortar flakes at the base – the storm may have dislodged material higher up.
Any of those observed, and it’s time for a professional inspection rather than another visual pass. For water-related damage specifically, our chimney repair page covers what the fix typically involves.
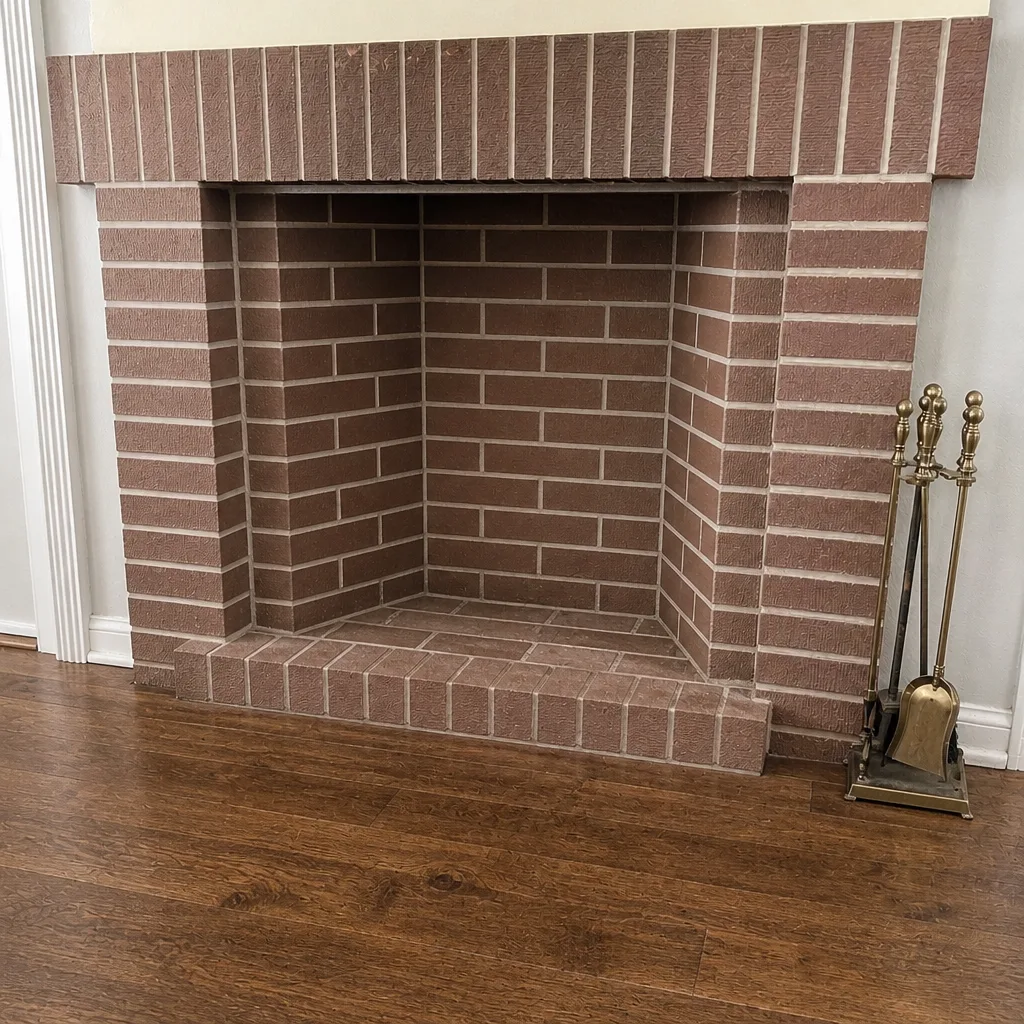
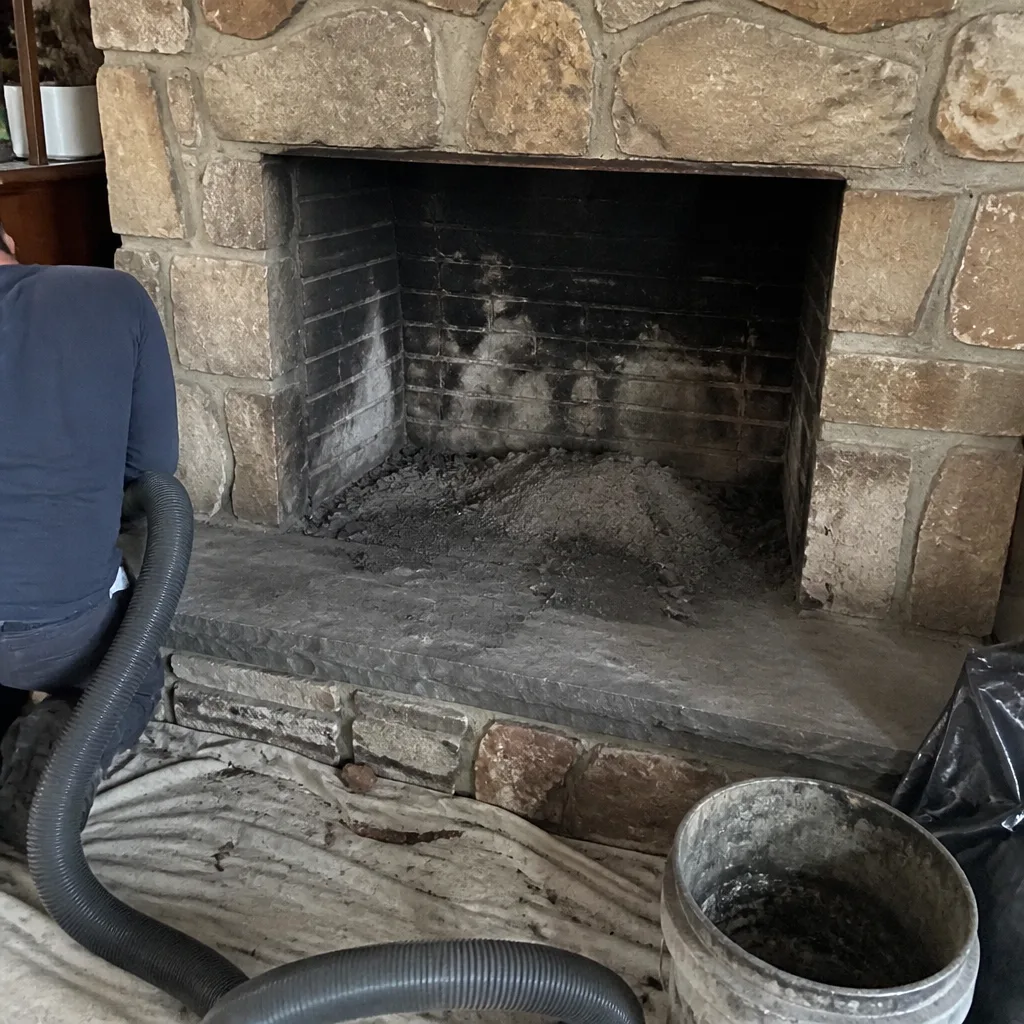
See the difference
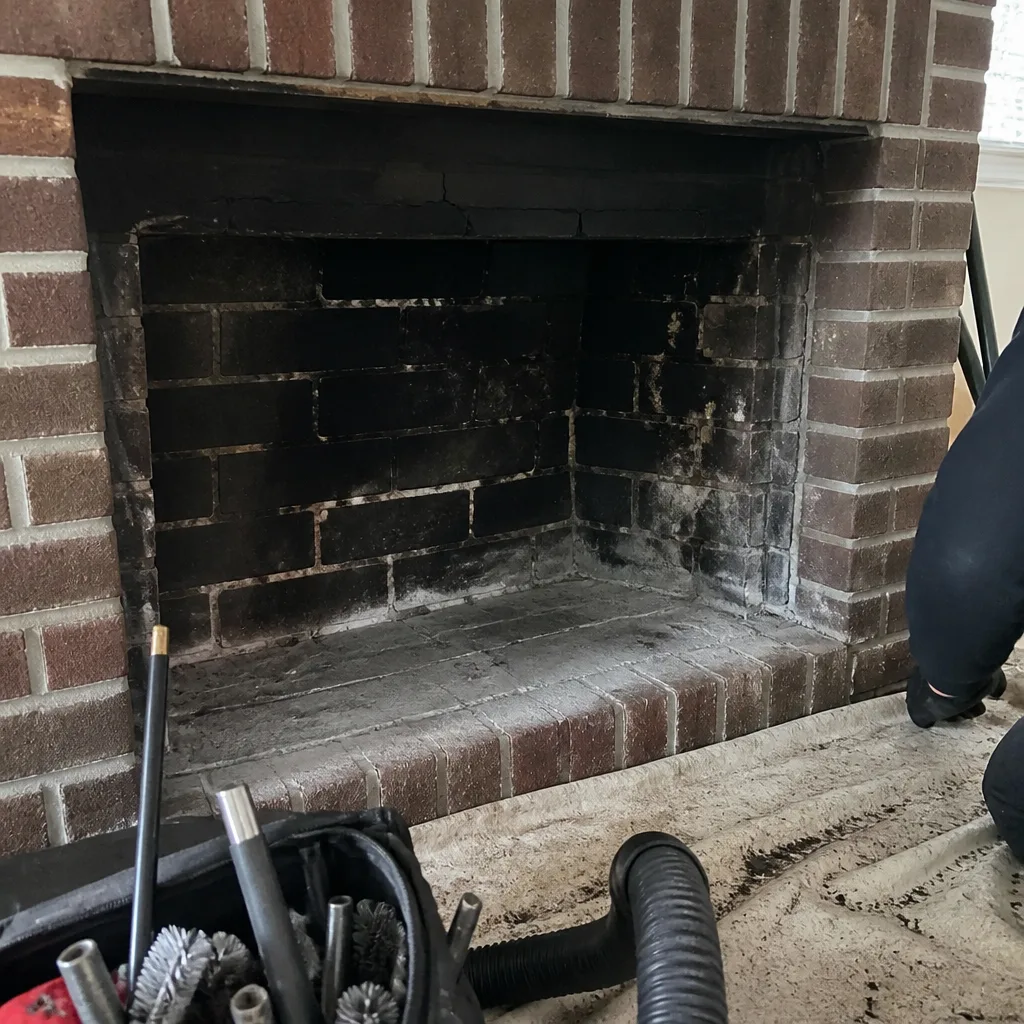 Before
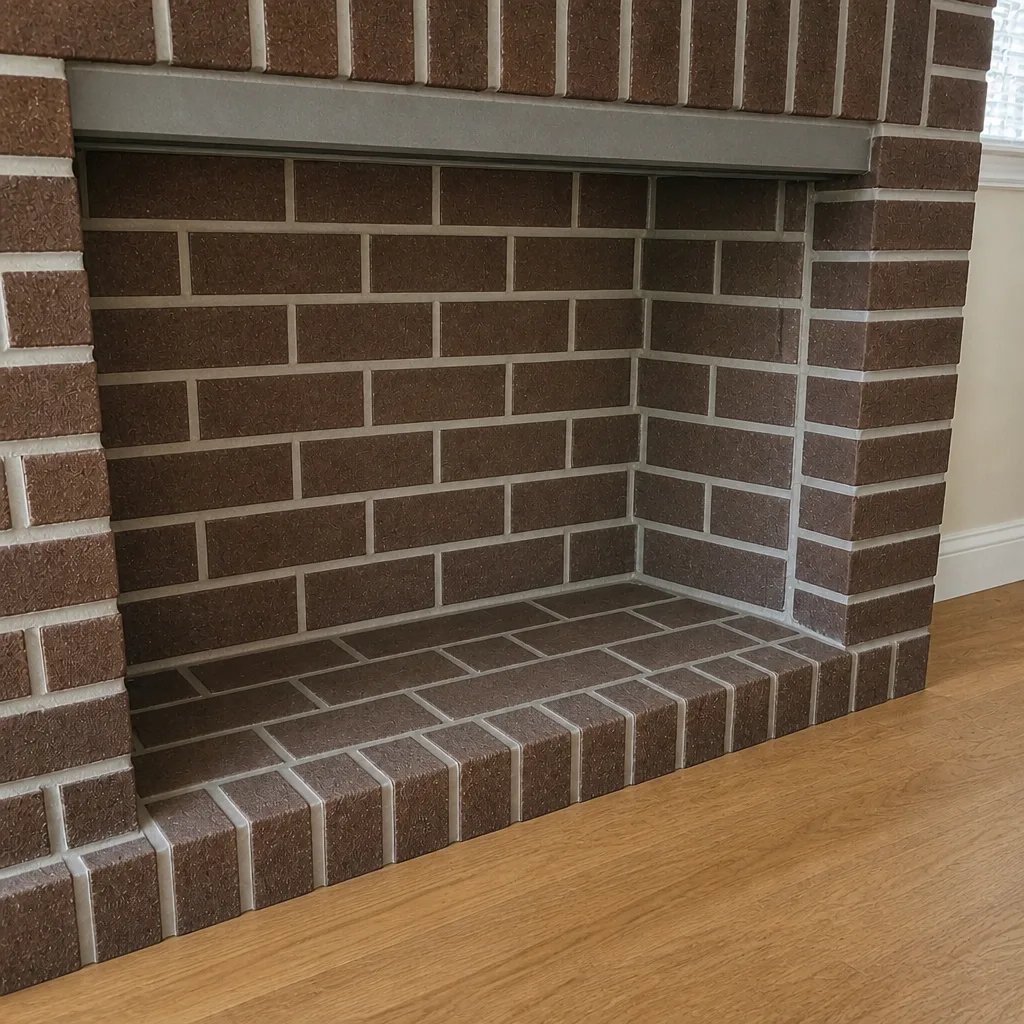 After
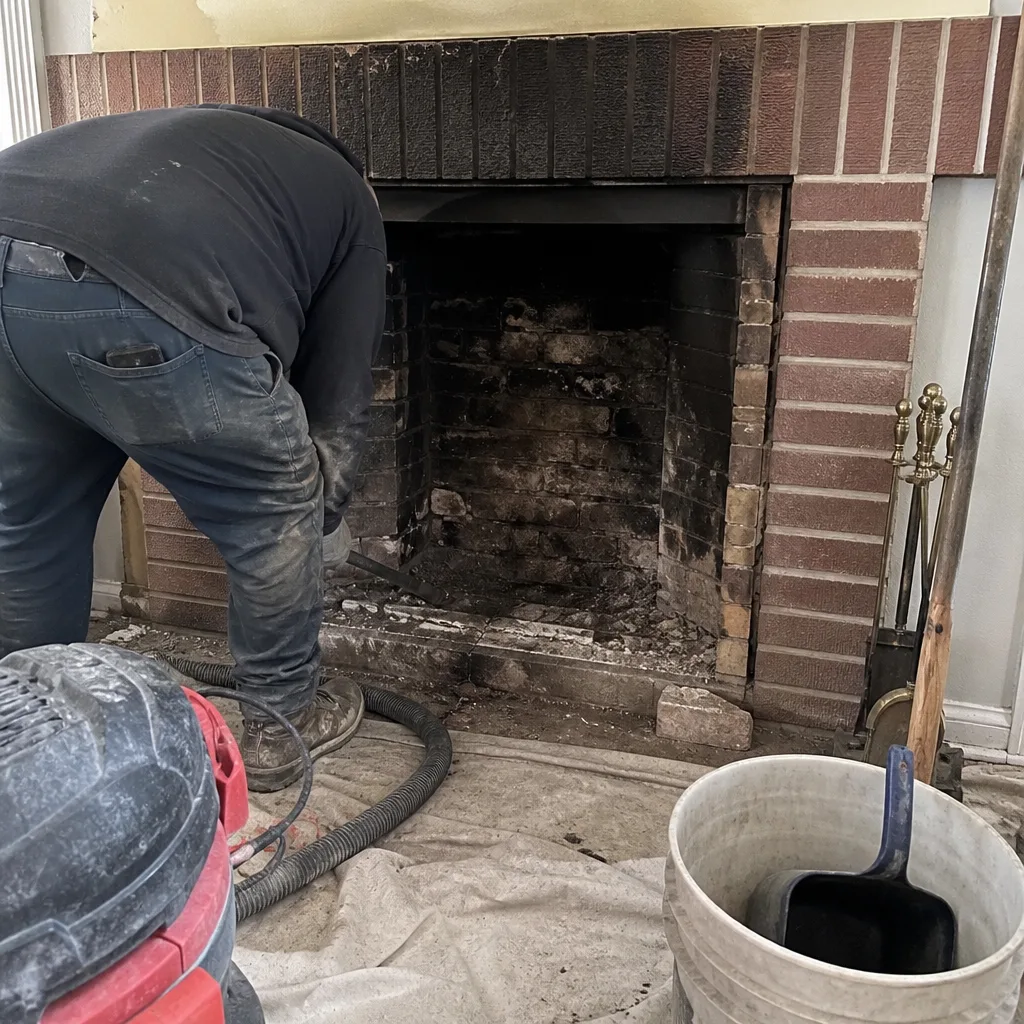 Before
 After
 Before
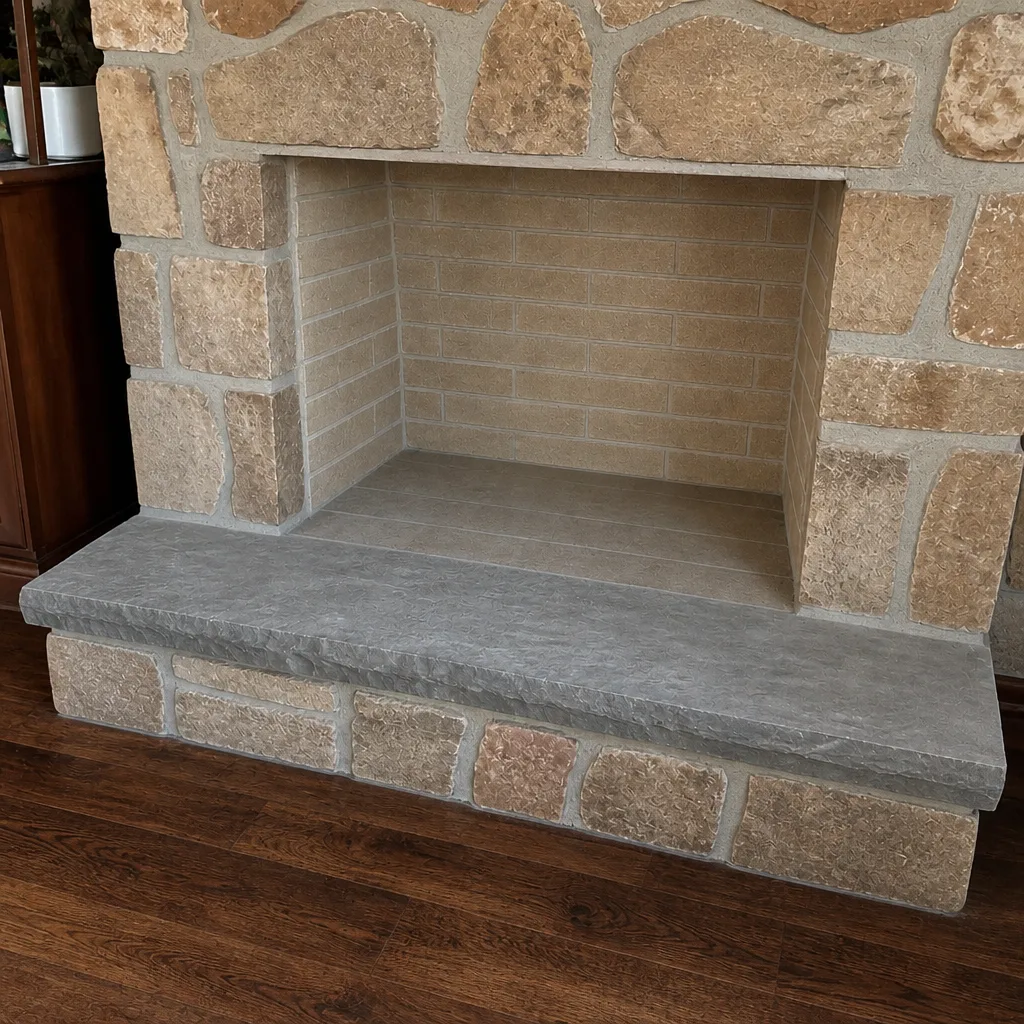 After
Common Mistakes to Avoid
We’ve seen these patterns again and again in the field. Avoiding them will save you real money and real risk over the life of the chimney.
- Skipping the cleanout door inspection. Homeowners check the firebox and the roof and never open the cleanout. That’s exactly where the earliest clay tile failure is visible. Make it part of every checklist – it’s a two-minute check with a flashlight.
- Treating efflorescence as cosmetic. White staining on the crown or brick is not a decoration issue. It means moisture is moving through the masonry and depositing salts. Left alone, moisture cycling through Bensonhurst masonry in freeze-thaw conditions causes real damage.
- Assuming a damper is fine because it opens. The critical test is the seal, not the movement. A warped plate that opens smoothly wastes heat all winter without any obvious symptom.
- Cleaning the flue without inspecting it. A sweep is cleanup; an inspection is the diagnosis. If the appointment is “just a sweep” with no inspection, you’re getting half the service. Ask what’s being checked and what gets documented.
- Skipping the post-storm check. The crown and cap take the most weathering and show the earliest change after hard winters. A quick post-storm walkthrough catches changes while they’re still small.
- Not keeping a log. Every season starts from scratch without a log, and a technician can’t tell what’s new. Ten minutes a season pays off across years.
- Trying to fix a chimney problem without a camera-verified diagnosis. This is the one we see cause the most unnecessary spending. A recommendation for relining or masonry work without camera evidence you can see for yourself is not a diagnosis – it’s a guess. Ask for the photo report and review it before approving anything.
When to Call a Professional
Some observations warrant scheduling a service visit, and some can safely wait for the next annual inspection. Call us when you find any of the following: spalled firebox brick that exposes the inner structure; heavy glaze-stage creosote visible on the flue walls; displaced or cracked clay tiles seen through the cleanout door; a crown that’s crumbling or cracked through; a cap that’s shifted, rusted through, or lost its mesh; smoke spilling into the room instead of going up the flue; or a damper that fails the seal test. Don’t attempt to clean or repair any of these yourself – a flue with heavy creosote is a genuine fire hazard, and disassembling a damper or knocking creosote off the walls is exactly the kind of work that should be handled by someone trained to do it safely.
A chimney sweep visit and inspection are what turn your observations into a plan. Our technicians have up to 12 years of experience, and every visit includes a camera inspection with a photo report you can review before any work is approved. If the chimney can safely wait, we’ll tell you. If it can’t, we’ll show you the evidence. Chimney Sweep Bensonhurst offers free estimates in Bensonhurst – call (855) 924-3713.
Frequently Asked Questions
Once a year, if the chimney is used regularly during the heating season. Homes with heavy fire use – fires several times a week through the winter – may need more frequent sweeping depending on creosote buildup. The honest answer is: sweep when buildup reaches a level that warrants it, and the annual inspection tells you where that line is. Call (855) 924-3713 to book the sweep and inspection together.
Six zones: firebox, damper, smoke chamber and flue, cleanout door, crown, and cap. At each zone you check for cracking, staining, loose material, or displacement, and you date every observation. The sweep is one step in the checklist; the inspection is what verifies whether the chimney is still venting correctly. Call (855) 924-3713 for an exact scope and a free estimate.
You can do the homeowner-level visual pass – flashlight, six zones, dated notes. You can’t replace a professional inspection. The camera inspection sees things the eye can’t reach, and the photo report gives you verifiable evidence of what’s actually happening inside the flue. Call (855) 924-3713 to schedule one.
Liner work is needed when the evidence shows it: cracked or displaced clay tiles, a flue that no longer contains the combustion gases, or a deterioration pattern that a flue-resurfacing approach can’t fix. Liner work is not needed when the evidence doesn’t show it. The right answer is a camera inspection with a photo report you review before approving – if a technician recommends relining without showing you the evidence, get a second opinion. Call (855) 924-3713 and we’ll show you what the camera finds.
Three visible through the cleanout door: displaced or offset tiles (any tile that’s no longer flush with the one above), cracked tile joints or cracked tile bodies, and tile flakes or heavy staining at the base of the flue. Any of those is a reason for a professional inspection before the chimney’s next use. Call (855) 924-3713 to schedule the inspection.
The local freeze-thaw cycle is the likely cause. Warm days soften crown mortar, cold nights freeze whatever moisture has migrated in and expand it, and that cycle repeats through the winter. Rooflines that don’t shed water cleanly away from the chimney make it worse. Crown damage isn’t a certainty here, but it’s common enough that a post-winter look at the crown should be on every checklist. Call (855) 924-3713 to have the crown inspected.
The Bottom Line
A useful chimney maintenance checklist is a set of six zones, three things to check at each, and a dated log that lets patterns show up across seasons. In Bensonhurst, the checklist has to weight toward moisture-related failure at the crown and mortar joints, and toward clay tile condition visible through the cleanout door. That’s the checklist that catches problems while they’re small and small problems before they become reliner or masonry work. Do the homeowner pass twice a year and after every storm season. Bring the log to every professional visit. And when anything in this guide shows up, call a professional rather than working on the flue yourself. The chimney is a venting system, not a cosmetic detail – keep it functioning correctly and it will do its job for decades.
Call (855) 924-3713 for a free estimate. We answer 24/7. Fast dispatch from 7am to 7pm, Sunday through Friday.
Written by the team at Chimney Sweep Bensonhurst.